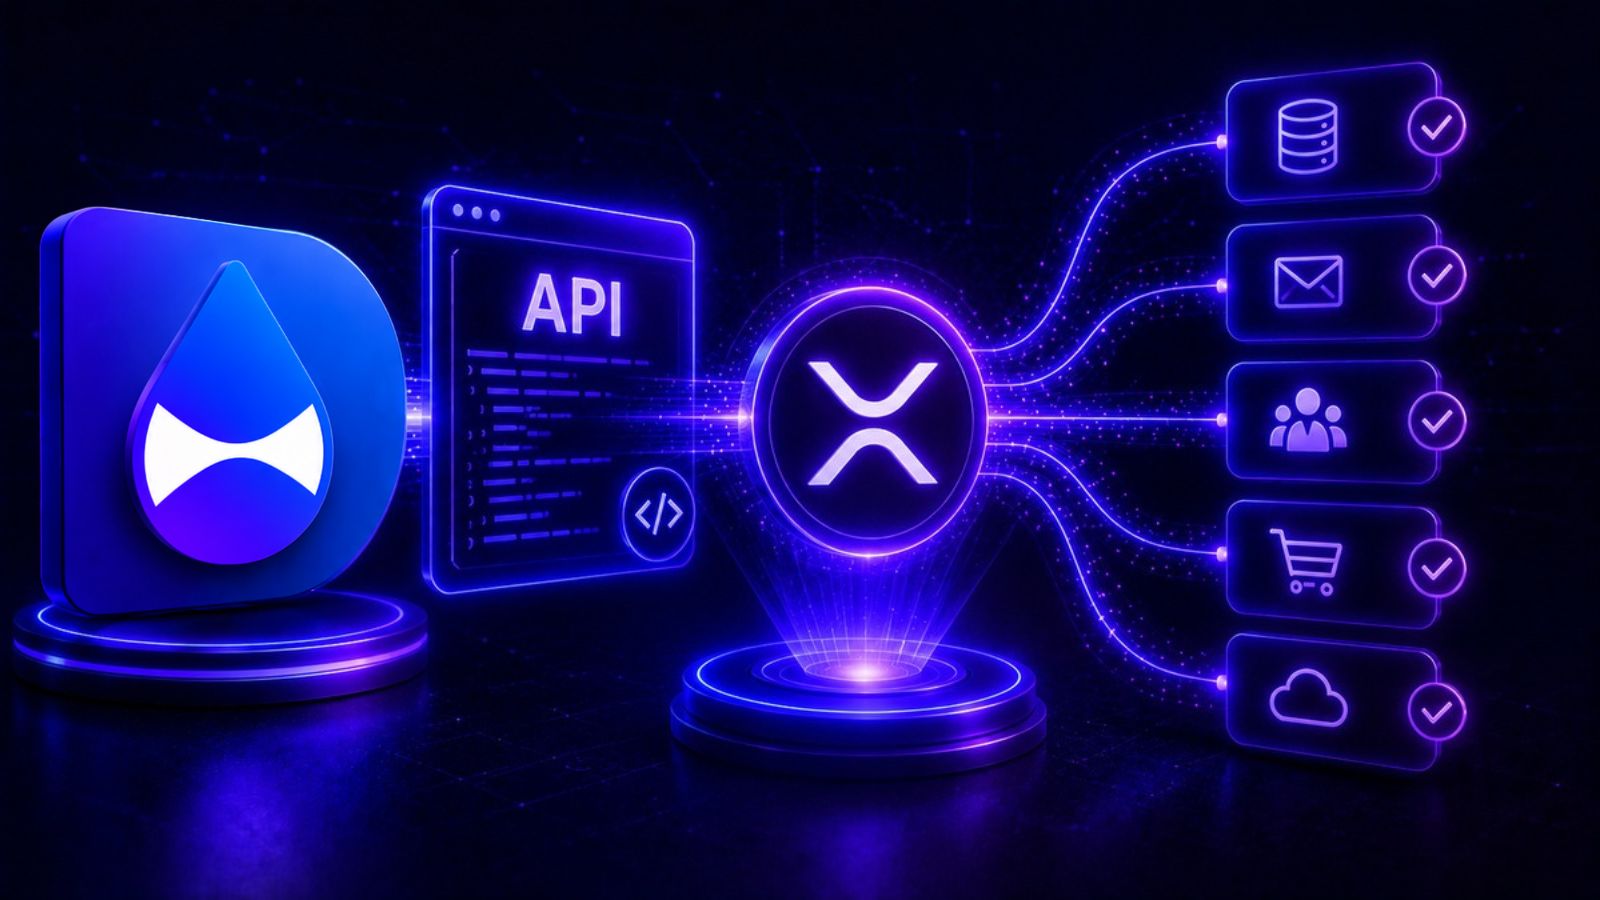
DropPay gives you a clean REST API for XRP payments. Create a request, get back a hosted payment page, receive a signed webhook when the XRP Ledger confirms. No node to run. No memo parsing. No ledger monitoring. Ship it in an afternoon. If you're not yet familiar with why non-custodial payments matter, that's worth reading first.
Create a payment request
Send pay_url to your customer. They open it, see the amount, and pay with Xaman in one tap. You get a webhook when it confirms.
Handle the webhook
Point a webhook URL at your dashboard. DropPay POSTs a signed payload the moment the transaction lands on-chain:
Webhooks are available on the Pro plan.
Add x402 so AI agents can pay your API
If your API should be callable by autonomous AI agents, droppay-x402 adds x402 middleware in one line. An agent hits your endpoint, gets a 402 with your wallet address and price, pays on XRPL, and retries. Funds land directly in your wallet. No billing infrastructure, no API key management. For a deeper look at the full x402 flow and how agents pay automatically, see the developer guide.
Manage DropPay from Claude with the MCP server
DropPay also ships an MCP server so you can manage your account directly from Claude. Create payment requests, check status, and send tips through natural language, with Claude calling the DropPay API on your behalf.
Then add it to your Claude Desktop or Claude Code config:
Restart Claude and you're live. Ask it to create an invoice, check whether a payment came in, or look up your payment history — all without leaving your workflow.
What you can build with this
- Invoice automation: Generate payment links from your project management tool when a milestone closes
- SaaS activation: Trigger feature unlocks or seat upgrades when the webhook fires
- Paywalled content: Gate downloads or API responses behind a one-time XRP payment
- AI-metered APIs: Let agents pay per call with x402 — no human needed to approve each transaction
- IoT micropayments: Devices paying for services at fractions of a cent, settled in seconds on XRPL
Free account, 14-day Pro trial. Start sending payment requests in minutes.
Get your API key free